

Temaki Sushi Cones
Servings
4
servingsPrep time
30
minutesCooking time
30
minutesTotal time
1
hourThis is definitely the perfect way to have sushi together as a family. Temaki is made right at the dinner table, with a platter of ingredients, a bowl of sushi rice, and your hands! In fact, “temaki” means “hand rolls.” You can select any fillings you’d like, 6-8 being a good number. This recipe makes enough sushi rice for four.
Ingredients
- Sushi Rice Ingredients
3 rice maker cups of Japanese short-grain rice
1/3 cup rice vinegar
2 tbsp sugar or 1 1/2 tbsp monk fruit
1 tsp salt
- Temaki Ingredients
nori sheets (cut in half)
a selection of fillings
- Possible fillings
carrot
cucumber
green onions
smoked salmon
avocado
microgreens
mango
cream cheese
unagi kabayaki
tuna salad
bell peppers
Directions
- Use three rice-maker-cups of rice. Wash the rice in a rice washing bowl or a regular bowl, using a sieve to drain the water. Use your hands to wash the rice grains against each other gently. The water will get cloudy. If you’re using a rice washing bowl, wash it until the water drains clear. If you’re using a bowl and sieve, drain the water when it gets too cloudy to see the rice and repeat. End when the water is clear (4-6 times).
- Follow your rice maker’s instructions for preparing rice. Usually, it is as simple as filling water up to the place marked on the bowl and pressing the appropriate button for white or brown rice.
- Before you turn on the rice maker, let it sit in the water for 1/2 an hour. You can skip this step if you’re in a hurry, but it does make a better batch of rice.
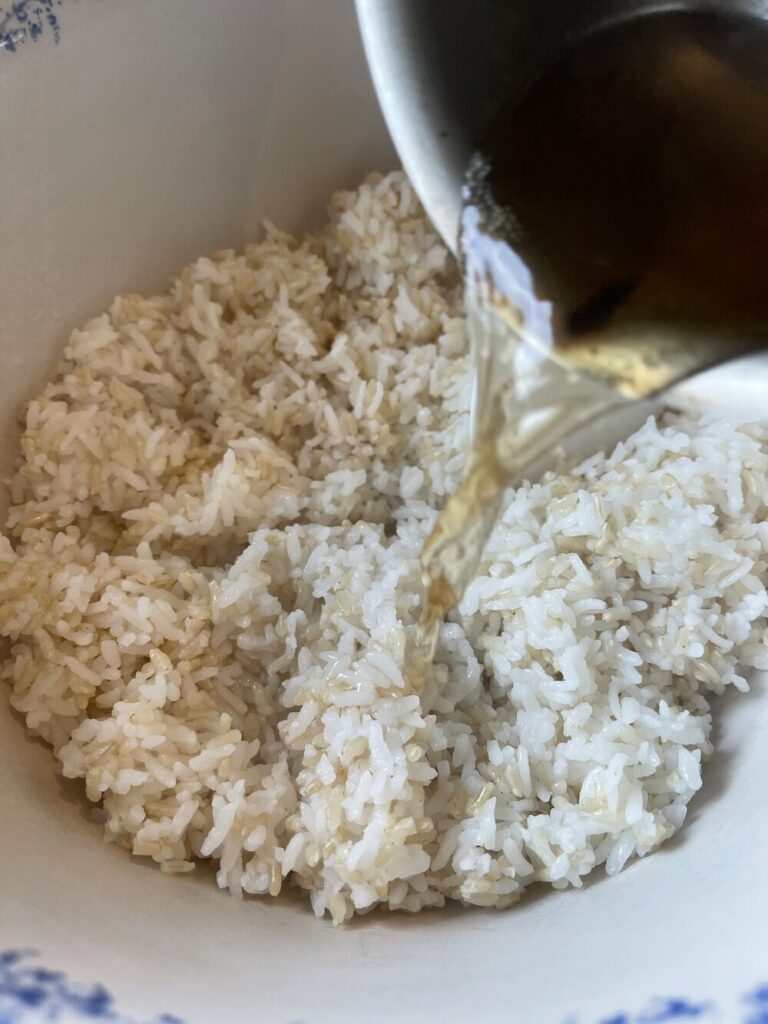
- Heat the rice vinegar, salt, and sugar in a small pan over low heat until the salt and sugar dissolve. Transfer your hot rice to a large mixing bowl. A wide wooden bowl is best, but make sure you have enough room to stir your rice around without being crowded.
- Take a rice paddle or wide spoon and section the rice into eight pie slices. Pour the vinegar mixture over the rice, evenly distributing it over the wedges.
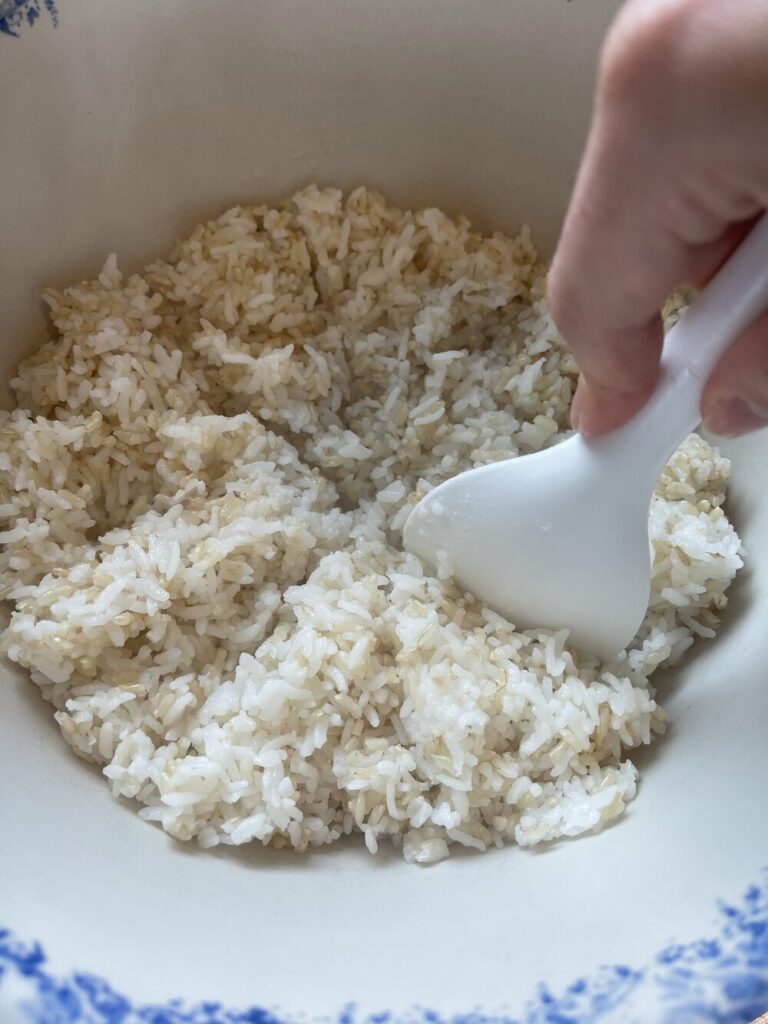
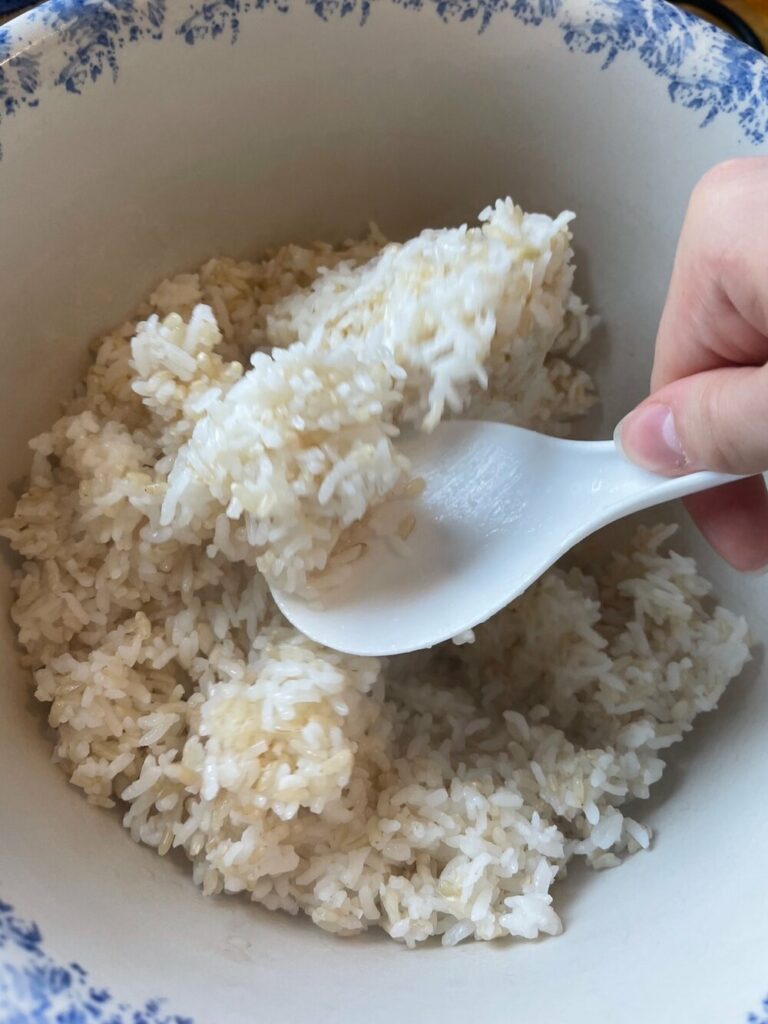
- Use your rice paddle to mix the rice; careful not to break the grains by smooshing them. The rice should be nice and hot to start with, but you’ll want to mix it until it’s cool enough to handle. If you have a helper or are dexterous enough to do it yourself, you can speed up this process by fanning the rice as you stir.
- Cover the rice with a damp towel while you make your sushi so it doesn’t dry out.
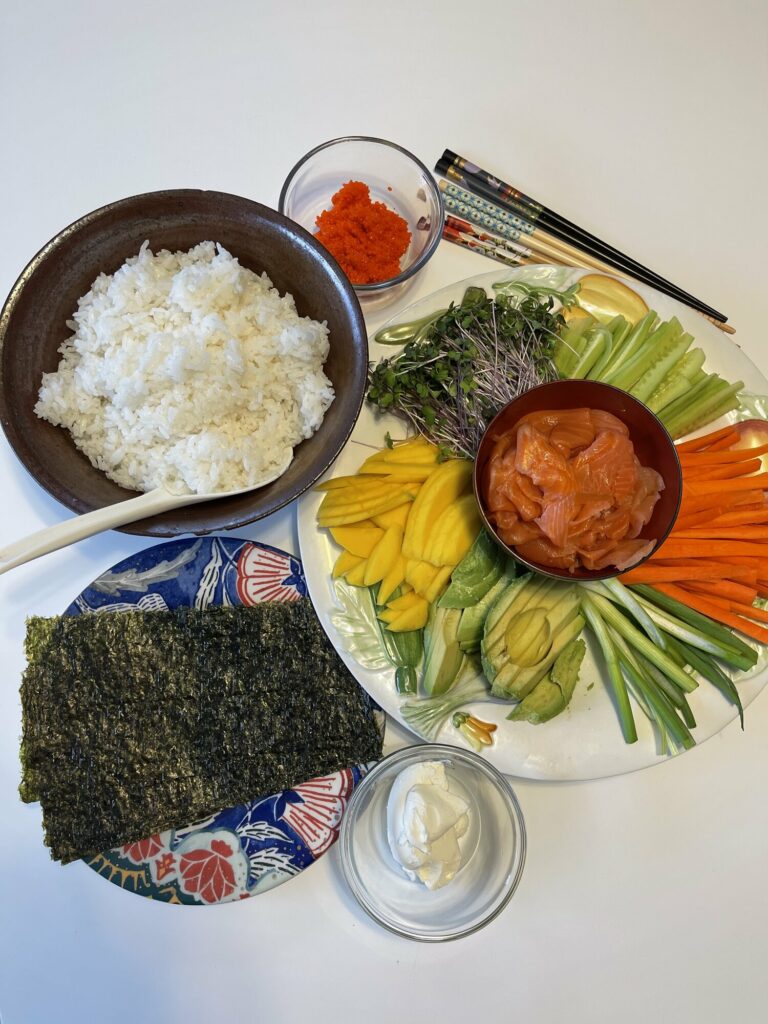
- Prep your fillings by slicing them into small pieces. Arrange them on a platter, with the messier ones like smoked salmon and cream cheese in their own dishes.
- Set the fillings out on the dinner table, along with a communal bowl of sushi rice and some soy sauce, pickled ginger, and wasabi as well. Each person should also have a pair of chopsticks and a small plate.
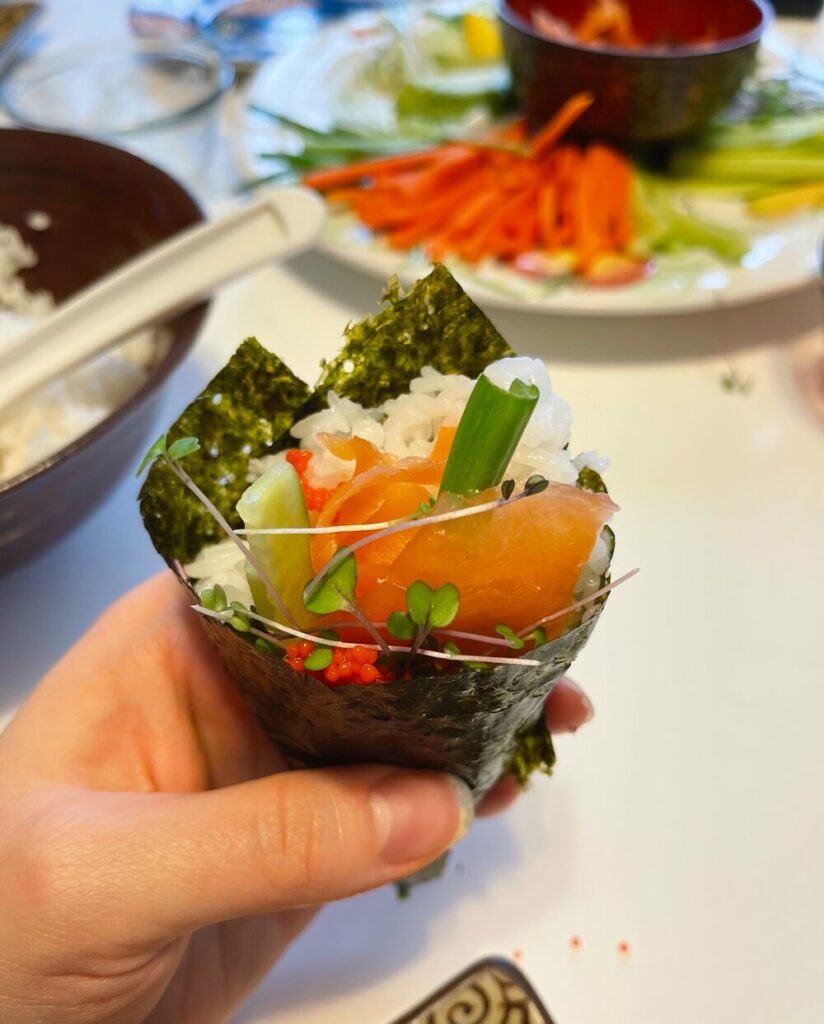
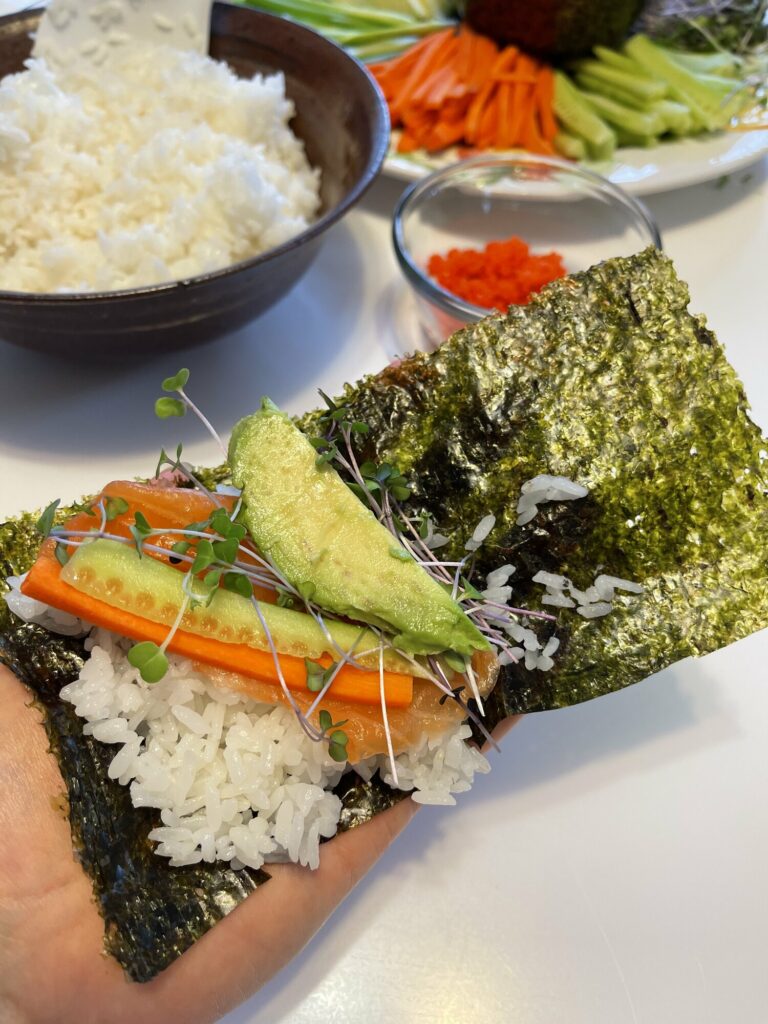
- Place the seaweed on your hand’s palm (shiny side down) and put a thin layer of rice on the left third of the nori. Place fillings of choice vertically across the middle of the rice.
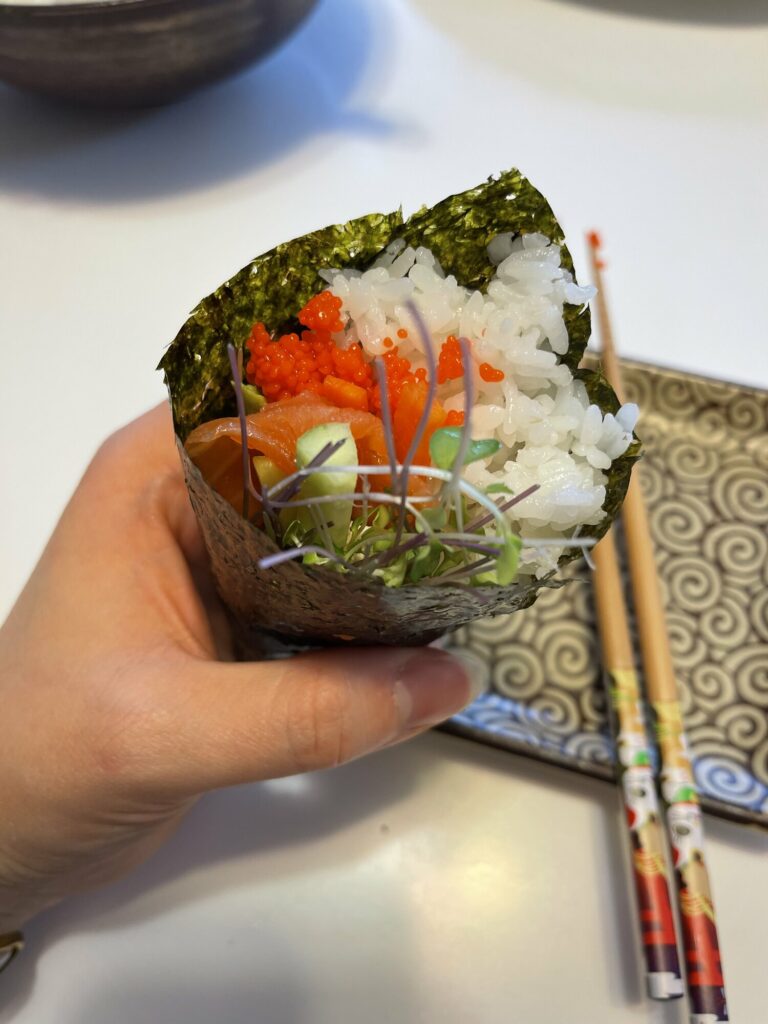
- Fold the bottom left corner of nori over and begin folding into a cone shape. Keep rolling until the cone is formed. Put a piece of rice at the bottom right corner to use as glue and close tightly. Continue until full or out of ingredients, whichever happens first.


")
")

